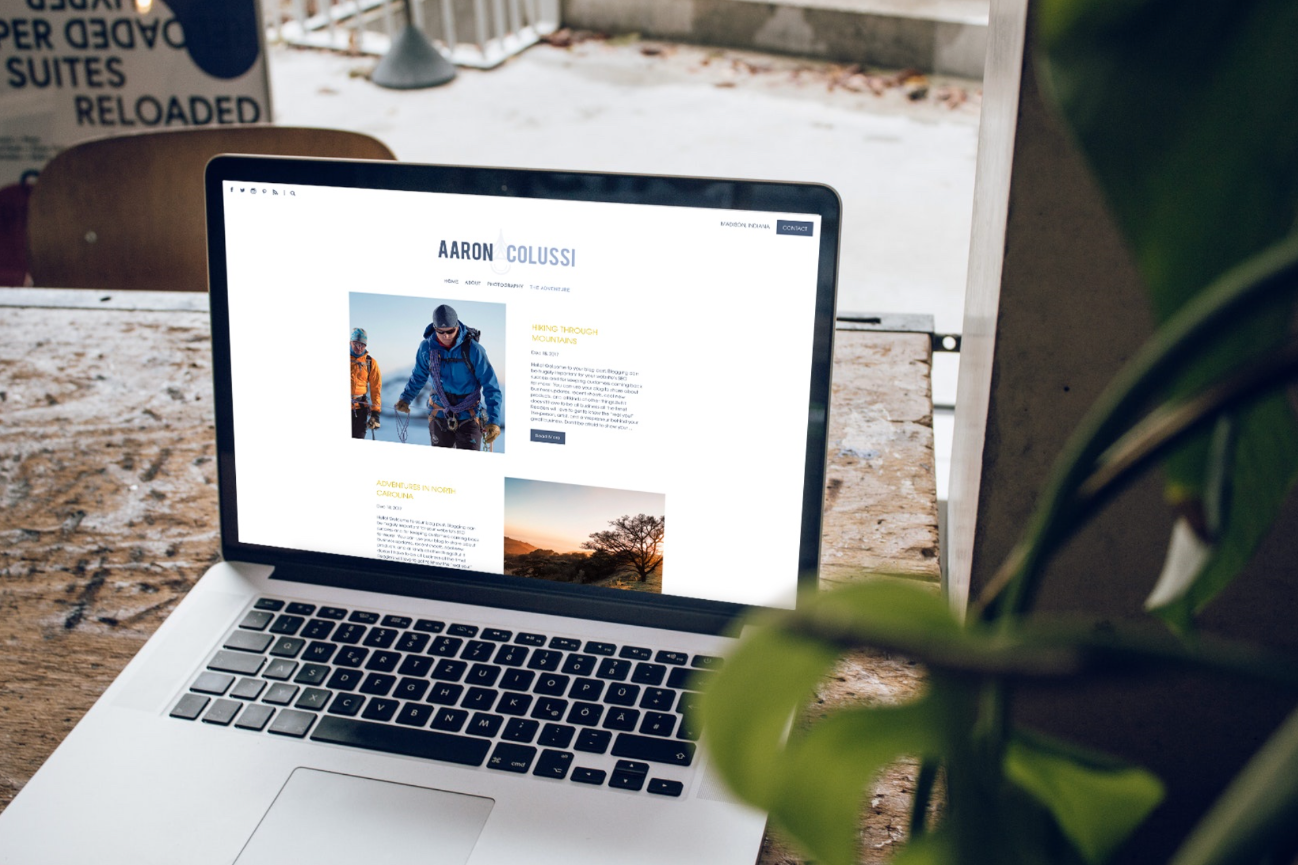
We recently added the Proofing block to PhotoBiz 8 as a way to share your client proofing galleries within your website. All PhotoBiz 8 clients enjoy the complimentary proofing tool as part of their membership. Here’s a quick look at how you can start using the proofing block as an easy way to allow your clients to access their galleries.
1. Add a Proofing Block
From your PhotoBiz control panel, select the Proofing option from your list of blocks. It’s located at the bottom right of your list of blocks.
2. Add Your Events to the Proofing Block
Now that you’ve added your Proofing block, you’ll see something similar to the screenshot below:
You can choose how your events are shown within your block by choosing which category you want to showcase. You can also choose whether you want to make expiration dates for the events shown.
Now that you’ve selected what category of events you wish to showcase in the block, you can choose how to customize the way your events will be displayed to clients. As with all blocks in PhotoBiz 8, you have the ability to customize them to look however you want them to.
3. Choose Your Page Layout
You can choose from 8 different page layouts for the Proofing block, those layouts include:
-
Modern square
-
Modern portrait
-
Modern landscape
-
Editorial circle
-
Editorial square
-
Editorial landscape
-
Editorial portrait
-
Gallery
Depending on which layout you choose, you can also choose the number of rows and columns in which your events displayed, as well.
4. Last Item Link
You can choose how your last item link will display. If you’re not familiar with what the last item link option does, it allows you to create a call to action for your clients within the block. By default, the last item link will be set to none and will not display. You can choose to leave it set to none, change it to “load more” items, or set it as a “standard link” and link to another page.
5. Give Your Proofing Block Some STYLE
You can adjust the way your Proofing events are spaced and give them an overlay within the Proofing block. You can also choose to have your events fill the entire page edge to edge and adjust how the events are displayed for mobile users.
PRO TIP: The “Flushing” option controls if your Proofing events fill the page edge to edge. You can turn this on to fill the entire screen or turn it off to contain the events.
6. Color Scheme
Your Proofing block will follow the color scheme set in your master color picker unless you change it. You can find the color options for the text, title, background, and overlay in the “colors” tab.
7. Background
The default setting for Proofing blocks is to not have a background. However, you can upload a custom background (.jpg or .png file) OR use one of our stock backgrounds if you wish.
If you choose to use a custom background or a background library background, you also have the option to change how that file is displayed.
The Proofing block is a new way to showcase your Proofing galleries. You can also use the share option within the event to get your event out to your customers as well.
If you have any questions about Proofing, PhotoBiz 8, or anything else you can think of about your account with us, give our Web Consultants a call at 1-866-463-7620. We’re happy to help you however we can!


Leave a comment
1 Comments
Jun 1, 2018, 11:39:42 AM
Rodney Turner - This is a great tip to drive traffic to your website as well as providing customers their images