
Starting a website for your business can be both exciting and challenging. If the web isn’t your thing, we get it. Not everyone wants to tackle design decisions, page layouts, or writing content from scratch. The good news? You don’t need to know any code—or even where to begin—to launch a professional website with PhotoBiz.
For almost two decades, PhotoBiz has strived to make it easier for people to have a website and provided unparalleled support. Our mission has been clear from day one because we know website design is not for everyone. Today we not only offer live phone support, but we also offer support via live chat and have a growing Knowledge Base that is filled with tutorials.
Now, with the introduction of PhotoBiz AI Website Creator, getting started is faster and less intimidating than ever.
Meet PhotoBiz AI Website Creator
PhotoBiz AI Website Creator is designed to help you move from “I don’t know where to start” to a fully structured website in minutes. Instead of staring at a blank canvas, AI Website Creator asks you a few simple questions about your business—what you do, who you serve, and what you want your site to accomplish.
Based on your answers, AI Website Creator:
- Generates a recommended website structure
- Suggests page layouts and content sections
- Writes starter copy you can customize
- Helps guide you through the setup process step by step
You stay in control the entire time. AI Website Creator doesn’t replace creativity—it removes friction.
You start with the AI Website Creator at the beginning of your journey and PhotoBiz AI is there to help at any point while building your site to help generate content, refine messaging, or move faster.
Say hello to the dashboard
Your PhotoBiz Dashboard is the first thing you’ll see when you log into your account. It gives you a high-level snapshot of your website and business activity, including:
- Account notifications
- Blog and marketing updates
- Usage details (files, emails, form submissions)
- A built-in Getting Started Checklist
- Your PhotoBiz tool menu
The dashboard is designed to help you understand what to work on next—without feeling overwhelmed.
On the left side of the dashboard, you’ll see icons for all PhotoBiz tools. Hover over them to expand the menu and reveal tool names.
PhotoBiz Tools at a Glance
Your PhotoBiz Dashboard is the first thing you’ll see when you log into your account for the first time. Here you will see your account notifications, news from our blog, and some content from our marketing team to help you grow, plus details about your account usage (total number of files, monthly emails sent, and form submissions received). The dashboard provides a snapshot of your account, how people connect with you, and how you use the platform itself.
You'll find icons on the left side of the dashboard to access a collection of PhotoBiz tools. When you mouse over the icons, the left menu will expand to reveal the tool names and the entire main menu.
With PhotoBiz, you get immediate access to the following tools:
- Website Builder: This is where you build/modify your website, including selecting a template and setting up your pages and navigation. Anything you do here will display on the front end of your website. When you start, this tab is where you set up the website and business profile with the AI Website Creator, automating your website build, SEO, and written content.
- Ecommerce: This is where you set up your merchants (to process payment transactions), taxes, shipping information, plus products and services you want to sell. This is also where you enter your pricing details and can pull reports and view sales data.
- Blog: This is where you write blog articles to share. This is a hub where you can quickly draft, schedule, and publish articles. You can share the articles on pages of your website as well as through social media. Then you can review metrics such as page view count data and moderate comments (if enabled).
- Client Galleries: Here, you create private image galleries to share with your clients. You can use Client Galleries to sell prints, digital images, and products based on price lists that you create in the Ecommerce section.
- Scheduler: With the Scheduler, you allow clients to book time with you online. You can create, view, and manage events and services that customers can book on your website. You can manage your availability, schedule time off, set up cancellation policies, and more.
- Forms: Create contact forms, lead generation forms, contracts, and other custom forms using the Forms tool. The forms can take payments, collect digital signatures, and much more. They even support conditional logic. It’s a very robust tool. Plus, when someone submits a form, that data is saved in the Contacts tool.
- Contacts: This is your Customer Relationship Manager (CRM). It stores information on your contacts and logs data based on people’s interactions with your forms, blog comments, scheduler appointments, and purchases. This tool also has a conversation feature (similar to an email or instant message) to help you stay connected with your customers.
- Marketing: This area has a collection of tools to help you market your business through email and your website. You can create on-site pop-ups and sticky banners. You can also design and send one-time or automated email campaigns. Plus, you can view analytics (email open rates, clicks, and more).
- Files: This section of the platform allows you to see how many files you have in your account, as well as upload images to a clipboard if you want to use an image in multiple places (such as a gallery on your website, plus a blog post). You can also upload other file types from here, like PDFs, GIFs, and more.
- Branding: This is a global place to upload your company logo, a favicon, and details about your company, like your address if you didn't do so during the AI Website Creator set up. add or modify your branding and business profile here, and it will be applied to all your tools.
- Domain: Here you can connect an existing domain to your account or purchase a new one. Once a domain is connected, you can enable SSL in this area.
- Mailbox: We offer branded email as a Premium Upgrade, and if enabled, you can access it from your account dashboard/menu.
- My Account: This is where your membership and account details like credit card information and password are stored. You also can get a breakdown of your file, email, and form submission usage on the PhotoBiz platform, change your default language and time zone and enable spam filters (Google reCAPTCHA). If you’re a PhotoBiz partner, this is where you can also see websites you’re connected to.
Built-In Help, Anytime
In the lower-right corner of your dashboard, you’ll find two powerful support tools:
- Live Chat (blue icon) – Connect directly with our support team.
- PhotoBiz Assistant (orange icon) – Context-aware help and guidance, including AI-powered suggestions depending on where you are in the control panel.
View the checklist
Now that you know your way around the control panel, you’re ready to start building your website, and we have a checklist right in your dashboard to help you know exactly what you need to accomplish to launch your website:
- Set up branding
- Build your website
- Set up your domain
- Enable SSL
- Enable spam protection
By following the checklist in order, you’ll get your website launched in no time. Once you have completed the checklist, it will disappear from the dashboard and be replaced by a notification center where you can see comments, purchases, and other notifications at a glance.
Build Your Website with the AI Website Creator
The PhotoBiz AI Website Creator is the fastest way to get your website online. In just a few guided steps, it creates a fully built, editable website for you—no coding or design experience required.
How the AI Website Creator Works
Getting started is simple:
-
Pick a Template
Choose a starting design that matches your style. This gives AI Website Creator a visual direction for your website. -
Upload Your Logo
Add your logo so your branding is applied across your site automatically. -
Upload at Least 25 Images
Upload a minimum of 25 images so AI Website Creator can properly build your pages, galleries, and layouts using your real work. -
Fill Out Your Business Profile
Enter details about your business, services, location, target audience, and website language. This helps AI Website Creator generate relevant page content and structure. -
Click Create
Once everything is ready, click Create, and AI Website Creator gets to work.
Your website will be generated in approximately 10–12 minutes. When it’s done, you’ll be taken directly into the Website Builder where you can review, edit, and customize everything.
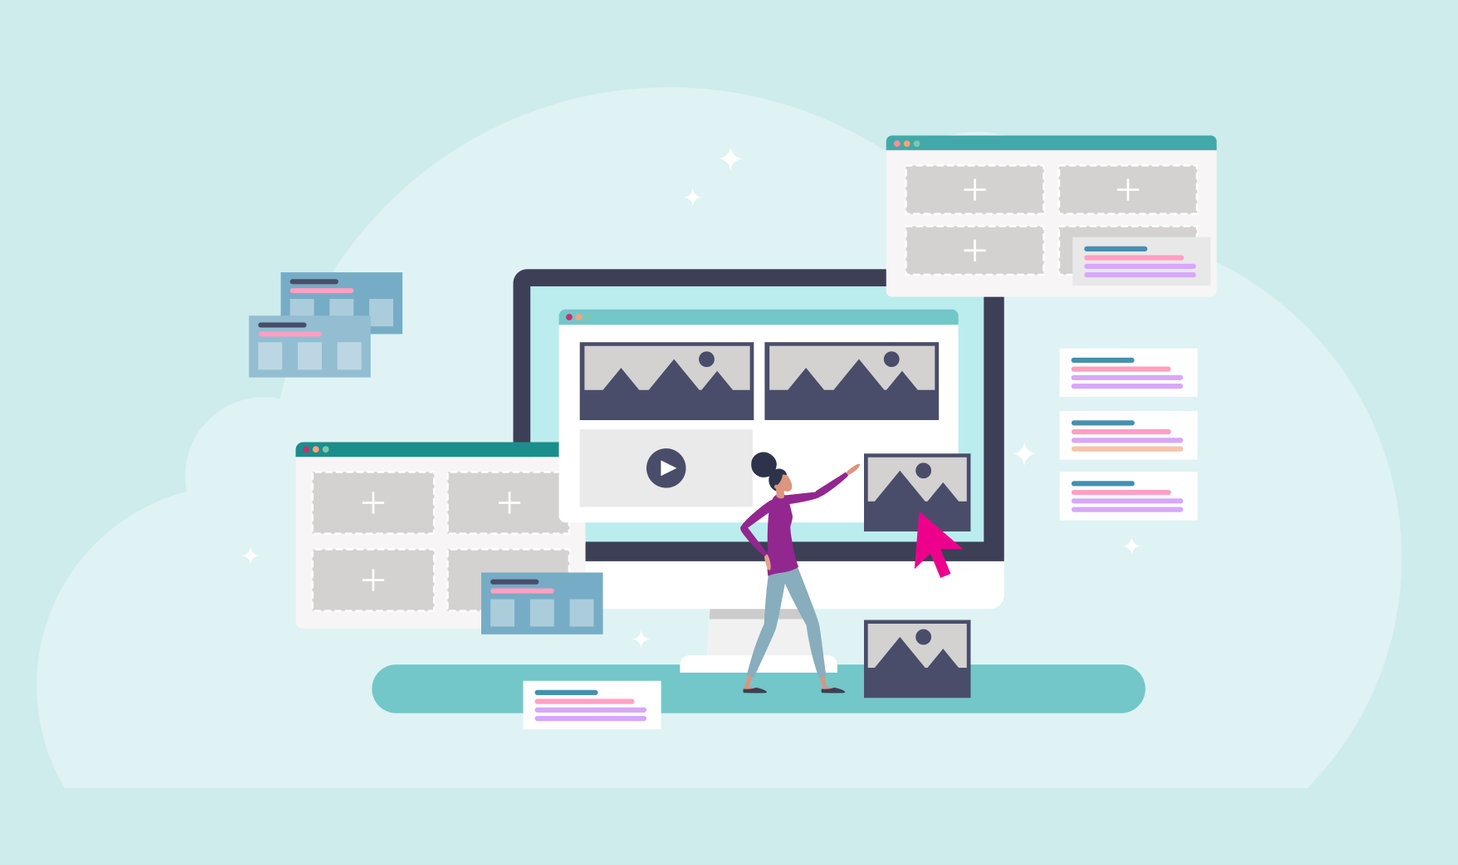
Get familiar with the website builder
Once your AI-generated site loads, you’ll be inside the Website Builder.
- Left Panel – Manage pages and navigation
- Center Area – Your page content, built with blocks
- Right Panel – Block settings and layout options
Each page is made up of content blocks such as text, images, banners, forms, blog feeds, and more. You can drag and drop blocks to rearrange them, stack compatible blocks side by side, or add new blocks at any time. The left panel is where you can add/move/delete/rename from your menu navigation, edit your site links / social media icons, and update your footer. This area hosts deleted pages where you can remove permanently, or restore up 14 pages.
The middle section is where your site content builder area resides. Each page is built with blocks of content. They each have specific features and properties. There are blocks for banner images, text, images, forms, blog posts, and more. You can modify specific properties for each block. You can also reposition or reorder blocks by dragging and dropping them.
Tip: A green line will appear to showcase where you can move a block too. If a whole block highlights green as you are dragging another block to a new location, that means those block types can sit next to one another instead of just on top or below it.
When you are ready to add new blocks, look to the right of the content builder area and you'll see the block menu. Just click to add a new block to the end of the page or drag and drop a block where you would like it to be. To edit a block's content and settings, click on the block, and a menu will fly out from the right side of the builder area. Here you can add content and modify a block’s settings and layouts. Once you make a change and click save, you will see the content automatically change in the main content builder area.
There is another menu at the top of the website builder. This menu houses your global website settings, such as design elements including your template, colors, and fonts, plus other elements like social media, ecommerce cart functions, and more. You can also update tracking information here for Google Analytics.
You'll find page-specific settings, such as SEO, between the top menu and the content builder area. Within the page settings, you can also update the visibility of a page.
Now that you’ve got the lay of the land of the website builder, you can start loading your content. We recommend starting by replacing placeholder content organized by our in-house designers. Then you can consider adding new blocks.
Refine Your Content
With your PhotoBiz website, you'll find stunning images and tailored content ready to go. Here’s what you can do next:
- Manually edit text or leverage PhotoBiz AI to create fresh content by simply clicking into the text blocks.
- Change or eliminate images in the designated image blocks; click on the images to swap them out with ones you uploaded when setting up, or feel free to add new ones.
- Modify layouts, adjust spacing, and customize block styles for your unique vision.
For blocks linked to other functionalities—such as Ecommerce, Blog, Forms, or Scheduler—you’ll oversee the content within the respective tools, and your website will seamlessly reflect those updates.
Text-based blocks (text editor block, text plus image block, list item block, title block, FAQ blocks, etc.) contain profile generated content. You’ll definitely want to replace all of that with your own text.
To update product-based blocks that connect to other tools in the PhotoBiz platform (product block, service block, scheduler block, form block, blog block, etc.), you’ll need to navigate to the related tool to make updates. For instance, if a block is ecommerce based, the placeholder content images and text reside in the ecommerce section. Alternatively, if there is placeholder content for blog posts, those are stored in the blog tool.
Once you updated/reviewed all the content, your website will nearly be ready to launch. You may also want to modify the colors and fonts in the design section (accessible from the builder's top menu).
Customize Design Settings
From the top menu of the Website Builder, you can update global design settings such as:
- Template
- Colors
- Fonts
- Ecommerce cart settings
- Tracking tools like Google Analytics
Page-specific settings, including SEO and visibility, are located just below the top menu when a page is selected.
Connect your social media channels
It is a good idea to include links on your website to your social media channels. Each website template has a built-in place to add these icons and options for how they display. Click on the builder’s site links/icons button.
Here you can set up links to your social media channels. Once you add social media icons, they will automatically show up on your website.
Add SEO to your website
When you started, the PhotoBiz AI Website Creator, SEO has already been added to every page of your website. Page titles, meta descriptions, and keywords are automatically generated based on your business profile and page content, so your site is search-engine ready as soon as it’s created.
There is nothing required to complete SEO in order to launch your site.
Edit or Refine SEO (If Needed)
If you want to review or make changes to the SEO that was automatically created:
-
Open a page in the Website Builder
-
Click SEO in the top-right corner
-
Switch metas to Custom
-
Edit manually or ask PhotoBiz AI to generate the page title, meta description, and keywords
-
Click Save
Repeat this process for any pages you’d like to adjust.
The AI-generated SEO provides a solid foundation. You can leave it as-is or refine it over time as your business grows.
SEO is vital to help you get discovered on search engines like Google. It's no magic bullet, but it can help the right audience find you and hopefully turn them into customers. Our platform comes with SEO tools and features to help you rank better online. Let's set it up!
From the ‘Builder’ section, go to the page you would like to customize SEO, then click on the ‘seo’ button in the top right. Here, you can customize your meta data including your page title, meta description, and keywords.
You should do this to each page of your website that you want search engines like Google to find. You can customize the metadata for all the pages of your website or select just a few. It's up to you.
To customize the SEO data click the ‘custom’ radio button under metas. Then add your own data in each section. Please note the tips provided for each field that will help guide you.
The Page Title is what will display in search engine results, along with the Meta Description which is a concise summary of your page's content. Keywords won’t be visible in search results or on your website, but are essential words or phrases that relate to your business and the content of your website to help search engines learn about your page. Think about this as how search engines index your business.
Once you enter your custom SEO data, click save.
Add your domain
Next on the checklist is connecting your domain. You can use a domain from a third-party provider like GoDaddy or Namecheap if you like, or you can purchase a domain from PhotoBiz.
If you already own a domain, follow these steps to get it connected.
If you’d like to purchase your domain PhotoBiz, click on Domains from the left side menu of the control panel and click the buy now button.
Once you’ve connected an existing domain or purchased a new one from PhotoBiz, allow 24-48 hours for the domain name update to propagate to servers worldwide.
Enable SSL
After your domain is set up, you can enable SSL for free with PhotoBiz 9. An SSL certificate provides security to encrypt all of your visitor's content and communications (purchases, form submissions, conversations, etc.). An SSL certificate is recommended for security and SEO purposes (Google prefers secure websites and ranks them higher).
Once enabled, allow up to 72 hours for the encryption certificate to generate.
Enable spam protection
Next, we recommend enabling spam protection on your site. We support Google reCAPTCHA. Once enabled, spam messages and bots will be a thing of the past. It’s a simple way to protect yourself from unwanted messages.
Congratulations! What's next?
By completing all the items on the Getting Started Checklist, your website will be set up for success!
Now you’re ready to set up other tools like Ecommerce, Forms, and more. Check out the guides and on-demand videos we’ve created for each of our tools that will walk you through setting up and using each tool. Still, having trouble getting started? Visit out our step-by-step start guide for setting up your site and using the builder.
Explore our guides:
Getting Started Guide
Ecommerce Guide
Client Galleries Guide
Scheduler Guide
Marketing Guide
Form Builder Guide
Blog Builder Guide
PhotoBiz Template Guide
PhotoBiz Logo Guide
PhotoBiz Image Block Guide
We hope this getting started guide will make it easy for you to build your website. If you need help, give us a call or click on the chat or PhotoBiz Assistant icons in the control panel and we’ll be happy to assist you. We look forward to seeing your website!


Leave a comment
0 Comments